 Deron Generally
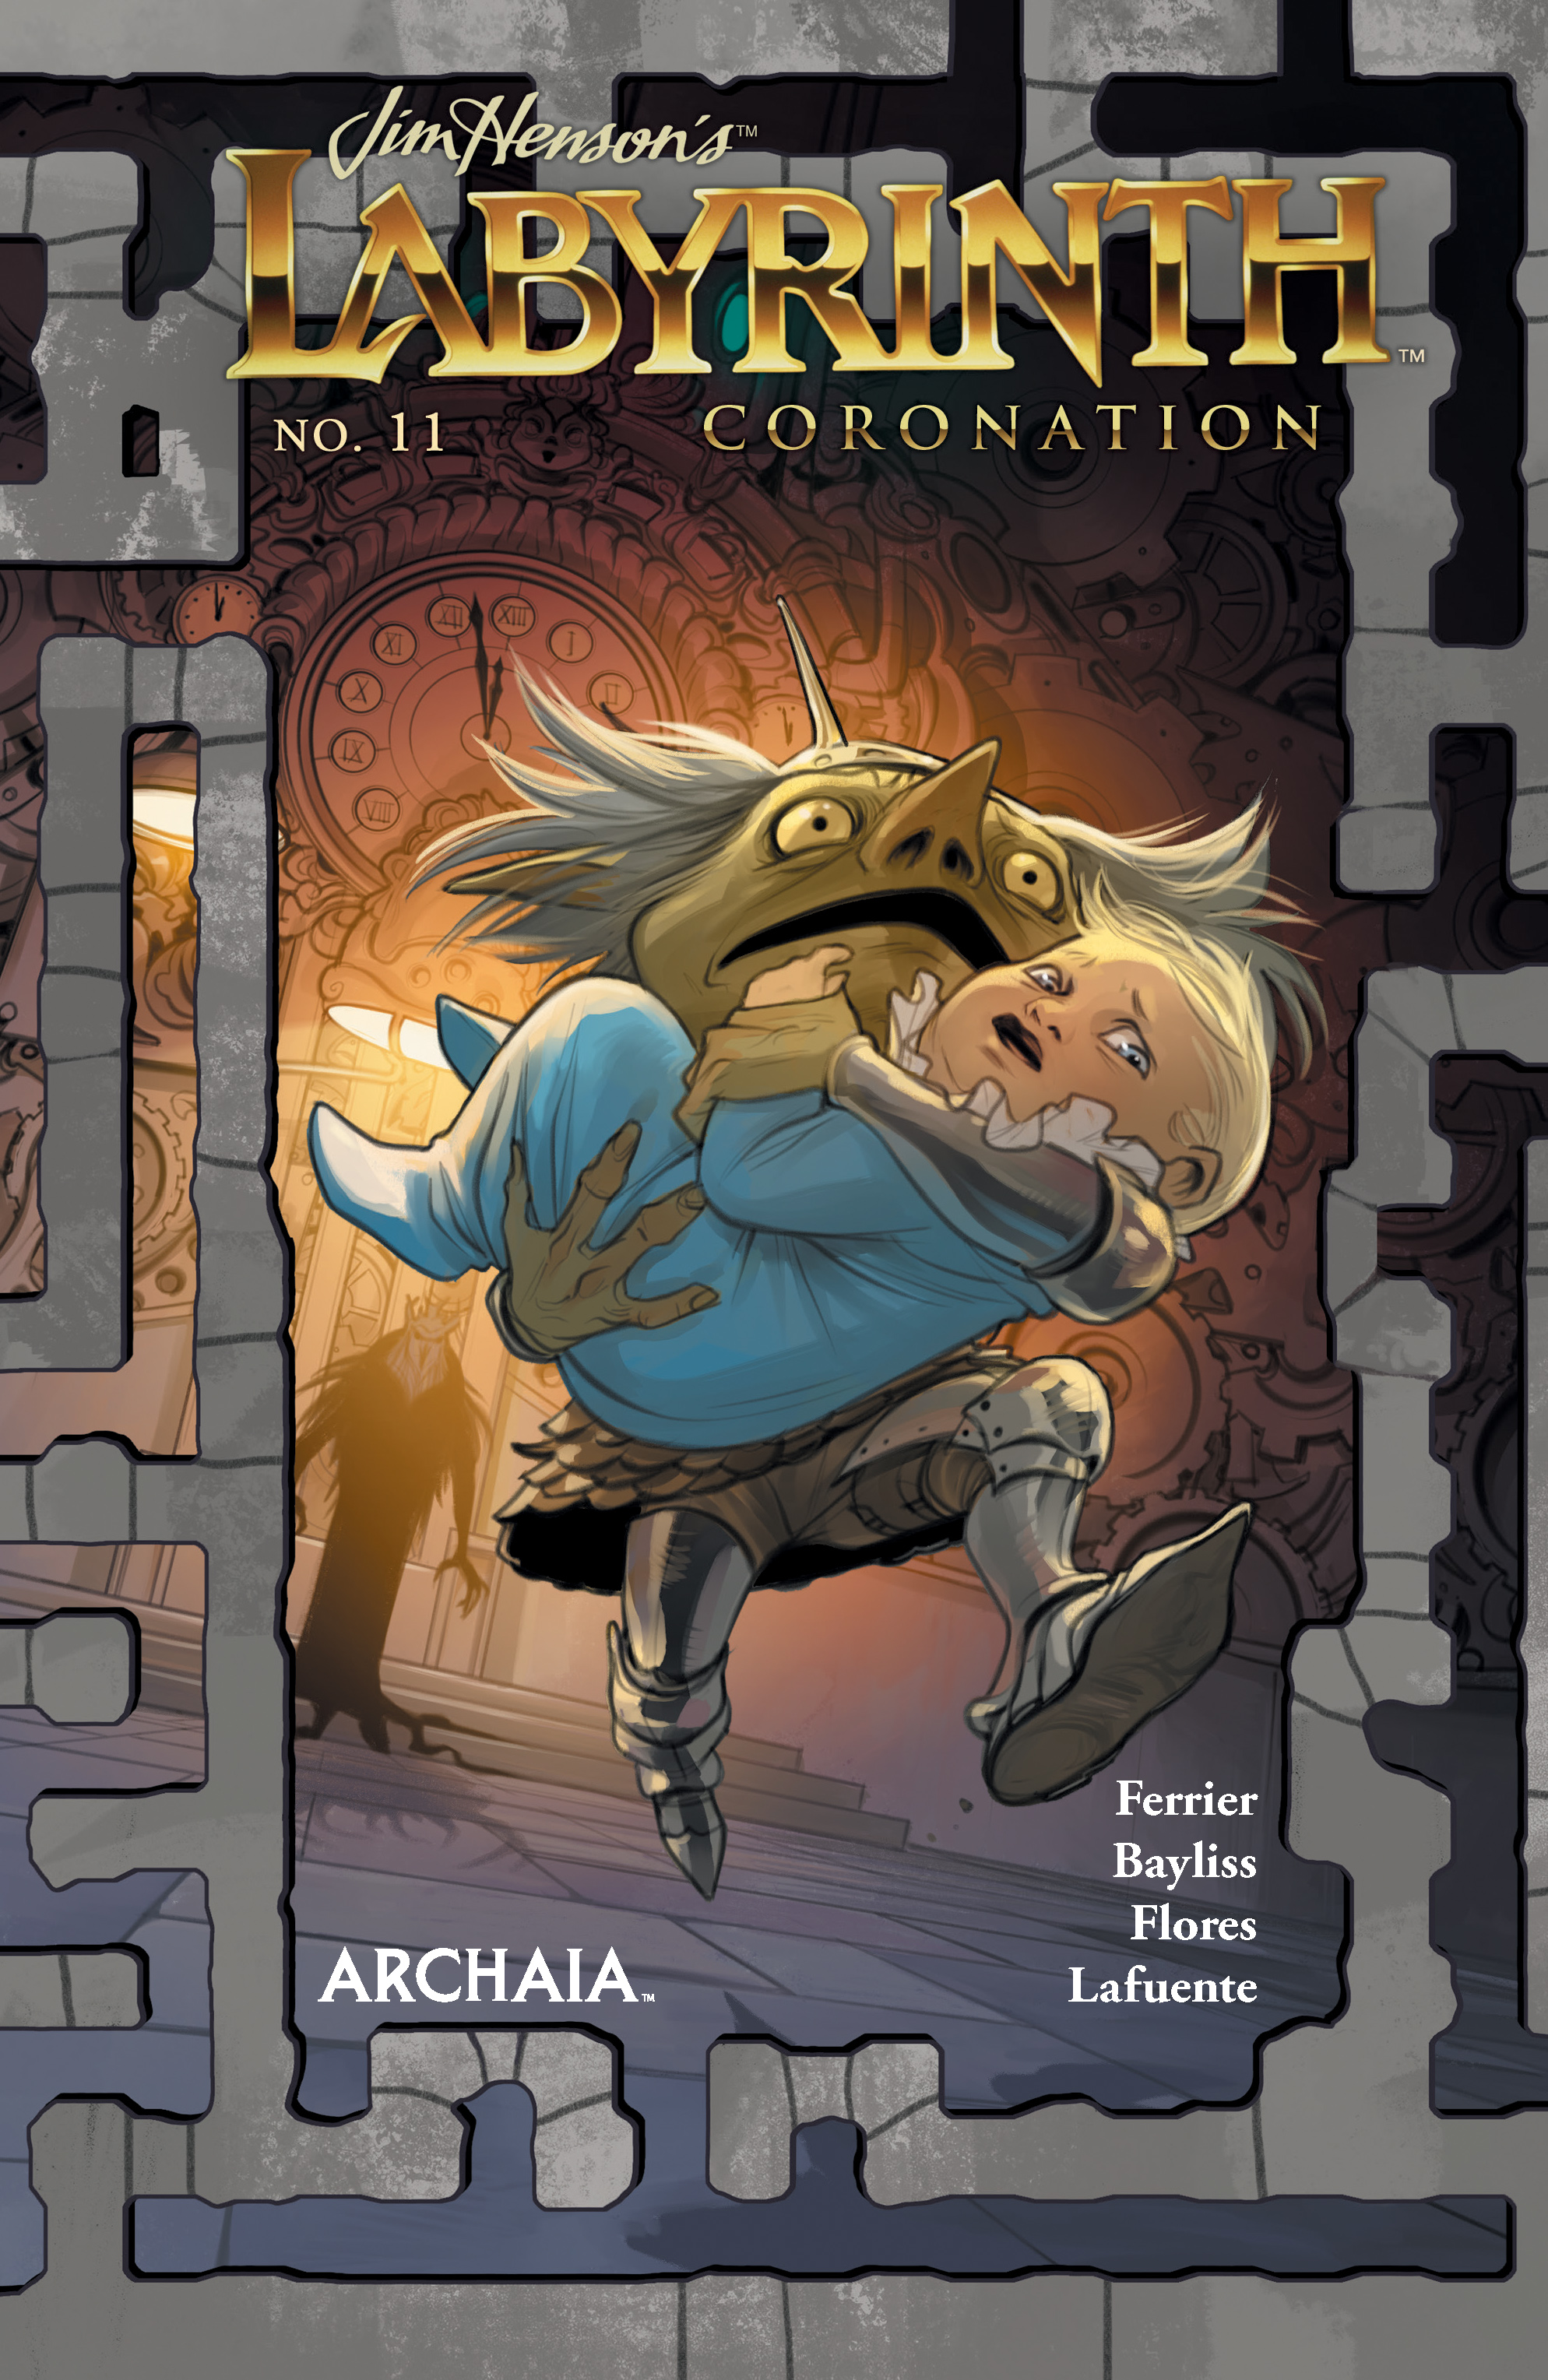 Jim Henson’s Labyrinth Coronation #11
Boom! Studios/Archaia
Written by Simon Spurrier and Ryan Ferrier
Art by Daniel Bayliss and Irene Flores
Colors by Joana Lafuente
Letters by Jim Campbell
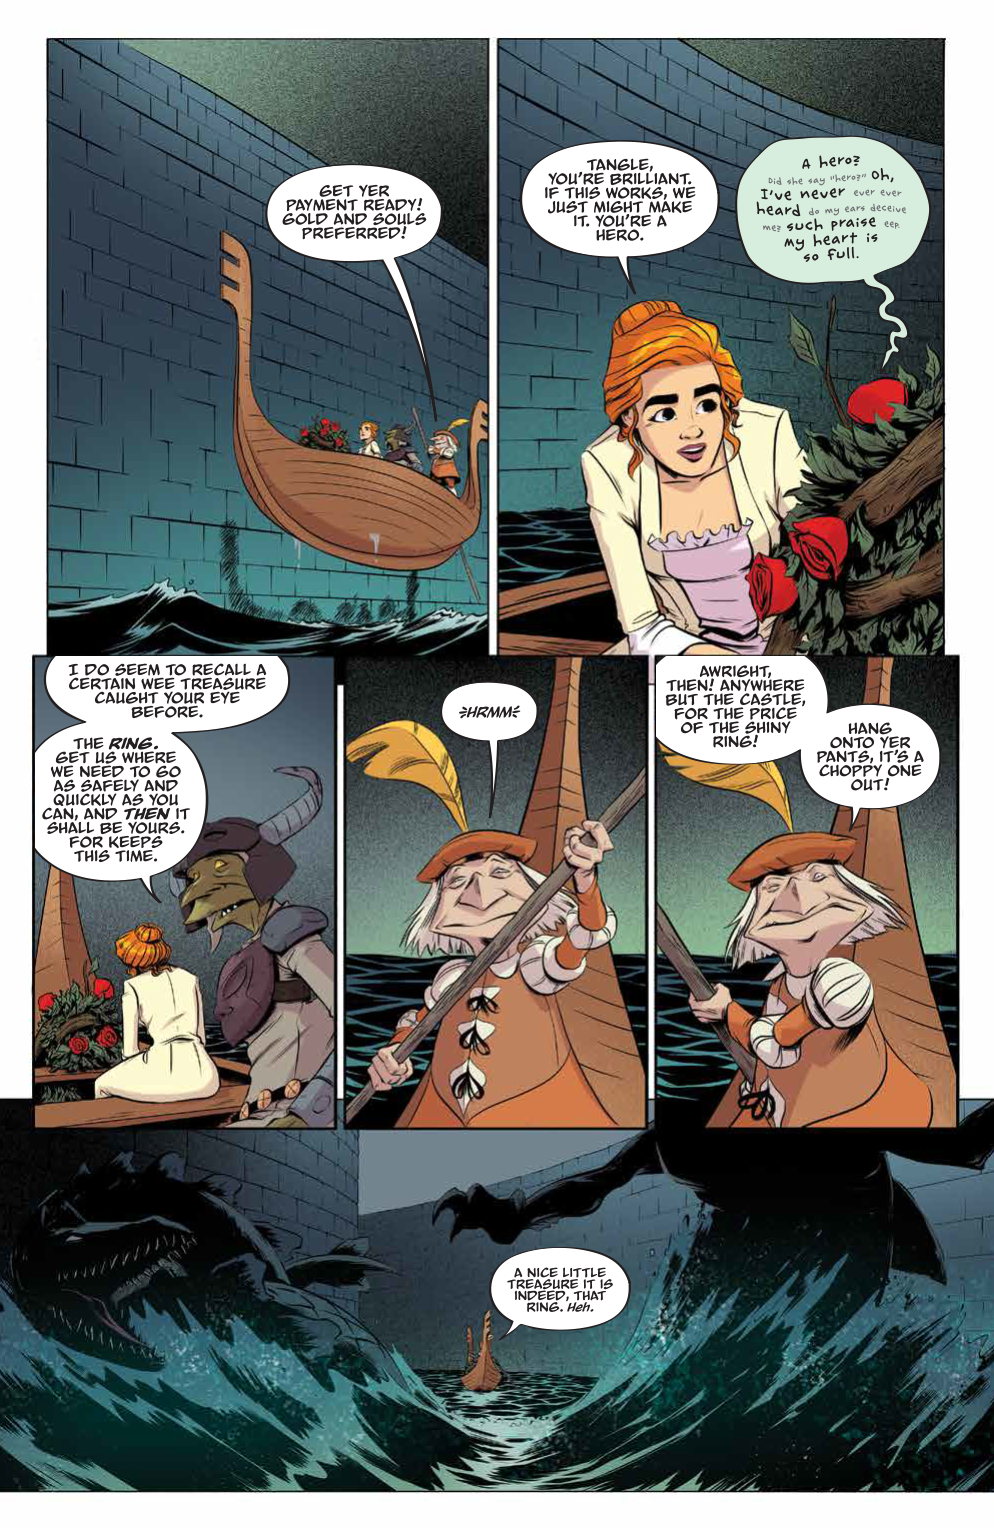
Maria has found her way to the castle and has one more obstacle to go before she can reach the Owl King and retrieve her baby.
Unfortunately, the giant monsters in the moat are her biggest impediment. When Skubbin bluffs the gondolier to get them across, they run into their next biggest impediment, a giant iron lion guarding the castle gates.
Both in the present and the past, Beetlegum finds himself at the center of the story. In the present he witnesses the final confrontation between Sarah and Jareth for the fate of Toby. In the past, he personally intervenes to help baby Jareth as the Goblin King puts the final part of his plan into action.
When Maria makes her way to the castle, Beetlegum finds himself at the mercy of Septimus after releasing the gate and letting them in. When they confront the king to take back the baby, the king’s treachery is revealed and things turn grim for the desperate mother and her companions.
Spurrier and Ferrier have taken these characters on an engaging emotional journey. Everything he’s put Maria through in the pages of this series have given the reader more reason to wish for her success while knowing the futility of her actions. Putting Beetlegum at the center of both stories is a masterful way to tell the story and I can’t wait to see how he fits into the finale.
Bayliss and Flores continue to bring out magnificent art throughout this issue. The confrontation between Maria and the king is composed beautifully.
Jim Henson's Labyrinth Coronation #11
0.00


