Timala Elliott
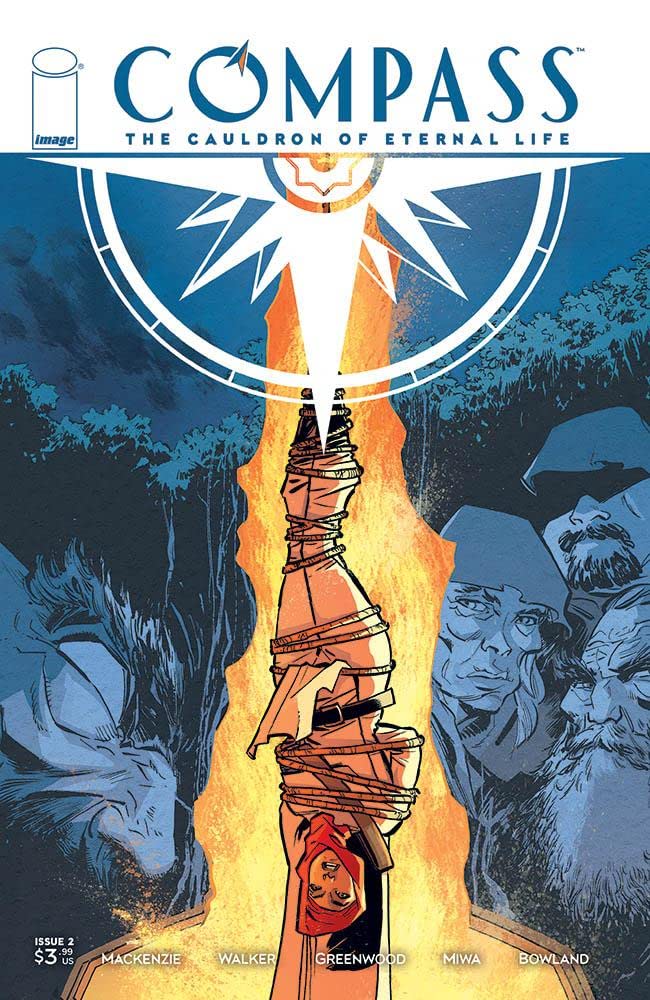
Compass: The Cauldron of Eternal Life #2
Image Comics
Written by Robert Mackenzie and David Walker
Art by Justin Greenwood
Colors by Daniela Miwa
Letters by Simon Bowland
The Rundown: Shahidah El-Amin continues her search for a powerful relic, while Ling Hua travels with the Mongol army.
Shahidah and Lord Fychan encounter a Mongol with a deadly secret. Later, Shahidah pleads to view the records in the Cathedral of Rhos Fynach. Once there, she discovers a map to the location of a sacred artifact. On her way to the mysterious location, she is confronted by a group of Welsh villagers that mistake her for a raider. Although she explains her situation, they decide she must endure a trial. Meanwhile, Hua Ling travels with the Mongols. She is told that her service to the Margul Khan will require her to participate in the same activities as soldiers. The two then discuss Shahidah and her importance. It is also revealed that Hua Ling and Shahidah have similar destinations.
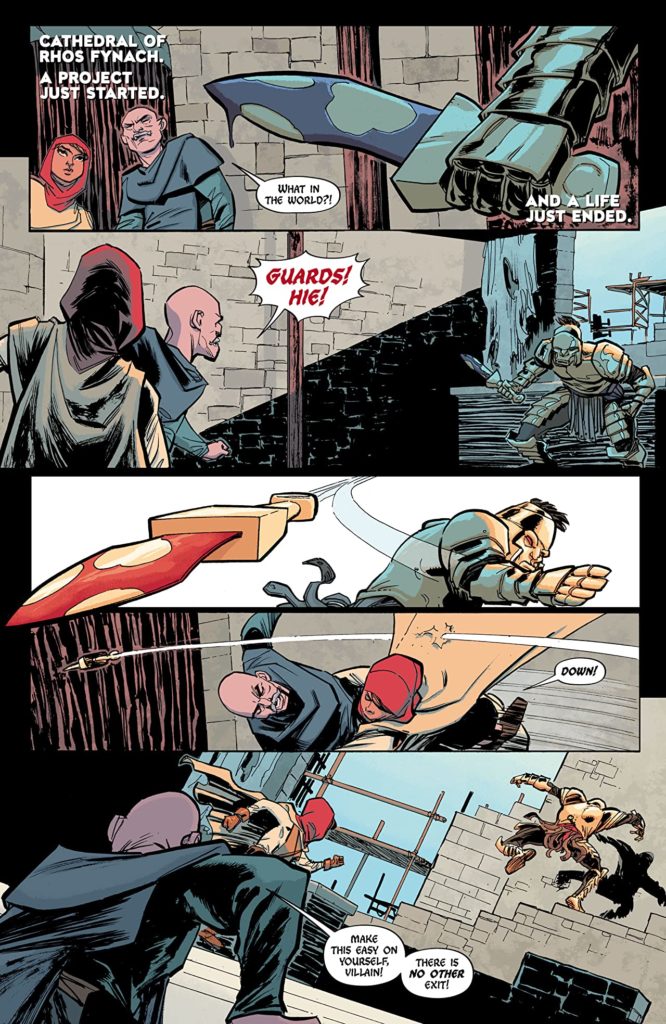
The Story: Action and adventure take the forefront in this Middle Age adventure story. And I am impressed with the story’s effortless ability to flow between story building content and high octane activity. The stakes feel very real for the protagonists and I am not sure what direction the narrative will take next. I look forward to the next chapter in this series.
The Art: The illustrations in this issue are an integral part of the storytelling. The level of danger and horrors faced by the characters are beautifully conveyed through detailed drawings that often have no narration or speech. And the color work helps solidify the emotional engagement that is gained with the turn of each page.
Compass: The Cauldron of Eternal Life #2